
 24/7 Emergency Service
9 Steps for Repairing a Leaking Single-Lever Handle Ball Faucet
4/22/2022 (Permalink)
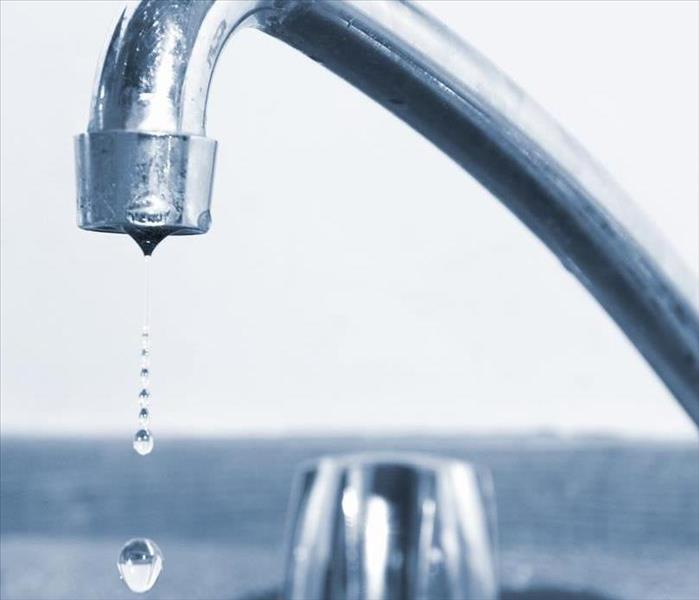 It will be easier to Repair a Leaking Faucet if you follow these Tips.
A leaking faucet is not only incredibly annoying, but it can also be very costly if the problem isn't solved immediately. A small leak can squander multiple gallons of water each day, creating expensive water bills. The most common faucet found in homes is the single-lever handle ball variety. Fortunately, if you have a few basic tools and a little time, repairing this type of leak at your home in Colorado Springs, CO, should be a simple job.
Essential steps to Consider
1. Create a Clear Area on the Counter
First, it's helpful to clear a space to put your parts as you take the faucet apart. You will need to keep track of how to reconstruct the faucet, so take a picture of the faucet prior to completing each step. This approach lets you see how it looked before each component was removed.
Also, place each part in your cleared area in the order you removed it so you can backtrack in order when replacing them.
2. Locate the Leak
Next, you will need to locate the leak. The best-case scenario is a dripping faucet spout, which can often be solved by tightening the handle's adjusting ring.
3. Turn Off the Water Supply
Shut off the water supply (the valves are typically located under the sink). Drain any remaining water from the lines by turning on the faucet. Make sure to cover the drain so that small parts don't escape.
4. Remove the Faucet Handle
Remove the faucet handle by removing the decorative screw cover and the screw. Then, you can remove the handle of the leaking faucet.
5. Inspect and Try Tightening the Adjusting Ring
Get some needle nose pliers and try tightening the adjusting ring. Then, test to determine if it is still leaking.
6. Remove the Adjusting Ring
If tightening the adjusting ring doesn't help, you will need to remove it. Continue deconstructing the faucet.
7. Remove the Faucet Stem and Other Components
Remove the stem, ball cam and packing. You will find the seats and springs at the bottom of the valve on both sides (i.e., hot and cold) of the faucet. These parts will also need replacing. Once this job is complete, it should solve issues with leaking from under the handle.
8. Replace the Parts
You can purchase replacement kits for these components. Follow the manufacturer's instructions to install each part in its appropriate location. After doing this for both sides, replace the ball assembly, cam and packing. Then, secure the cap to the valve with a screw. Replace and tighten the adjusting ring, and replace the handle.
9. Turn on the Water and Look for Leaks
Turn the water back on and check for leaks. Most likely, this fix has resolved the problem and stopped the leaking. Now that it's a fixed leak, it could be time to hire water damage restoration specialists.
As irritating as home plumbing issues can be, a leaking faucet is one of the most straightforward residential repairs you can do. Your small investment will prove worth it when your dripping faucet is finally transformed into a fixed leak.